Sunday, February 26, 2012

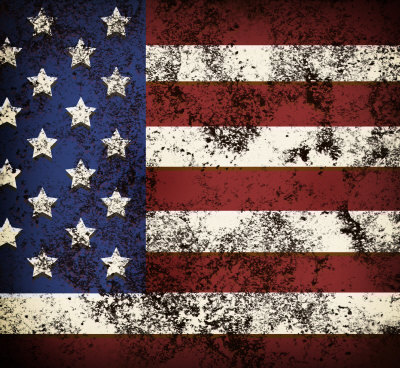
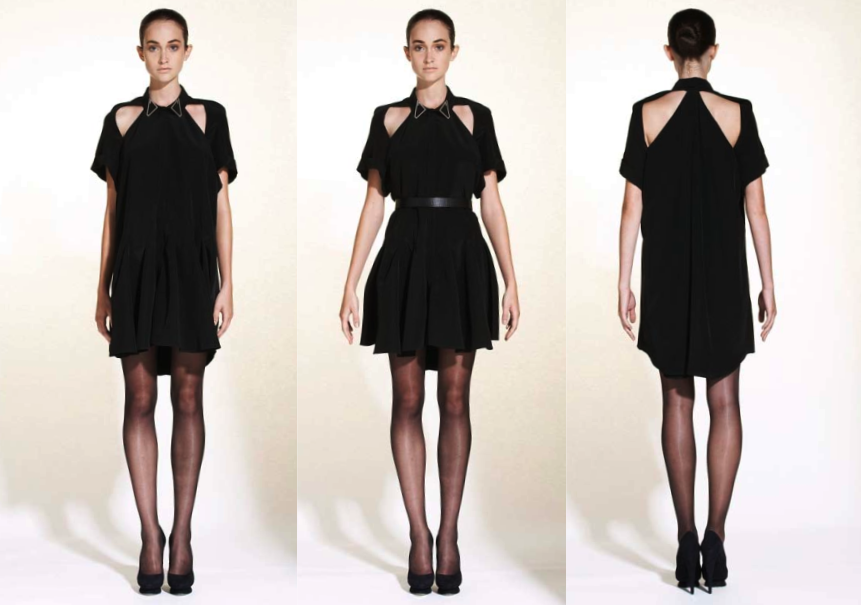
New style post: Mood Board- American Gothic I

Inspired by a recent job as a designer that I landed... and then deserted... I decided to start a new segment to my blog called "mood board". Mood boards are essential to the design process.


mood board is a type of poster design that may consist of images, text, and samples of objects in a composition of the choice of the mood board creator. Designers and others use mood boards to develop their design concepts and to communicate to other members of the design team.

I've seen similar posts on other blogs, but usually more along the lines of "inspiration". The mood boards I'm creating will be more like trend forcasting or trying to make a look happen:) This may make no sense, but it's completely clear in my head... so here goes.

Important note: I DO NOT own any photo incorporated into these mood boards, they are found on the internet and are strictly eye candy. Please no angry credit comments.

Oh ya, and if you're diggin' a particular mood, please ask before you use. Thanks:)


AMERICAN GOTHIC I


Monday, February 20, 2012

DIY: necklace worthy of the great 90's

For some reason I have been all over the ball chain necklace. Not just any ball chain, the big chunky 90's ball chain that you probably would wear with your favorite JNCO jeans. :/ I never know why I get into these very specific trends, but can't hate a girl for knowing what she likes. Anywhoo... here's a latest DIY I did with a couple charms that needed a home and the infamous ball chain I found at the equally infamous melrose flea market. Hope you like it, it's been around my neck for weeks.

My Inspiration:

(Ivy Rose- insanely beautiful model, from her facebook)


The Real Deal:


Supplies; chain, charms of your choice, pliers


Find a link chain that's big enough to link charms with chain, I stole this one off of an old necklace, but you can buy them at any craft store.
The charms are; an old key gifted to me for Christmas and a crystal bullet from a flea market. 


Use pliers to open and close link to complete the necklace


Finished product


On me:) I like the length that I saw in the first inspiration photo, a little on the long side so it rests in my chest cavity, obviously that is up to you how long to make it. Big ball chains look best on the shorter side. 


Been DIYing up a storm lately.. the next one up is flare leggings I made from the sick fabric in the top right corner... inspiration via Alexander Wang!
velvet burnout leopard
velvet tie dye
black pleather
and burgundy satin...... whoa.
Stay tuned!

Monday, February 13, 2012

DIY: Custom Denim


We see customized jean jackets everywhere..... but the best part is they're all different! Rocking denim is always classic, but to really showcase your individuality, you have to DIY! There's thousands of ways to make it O ofa K! (one of a kind ((dork)):

Bleach
Dye
Studs
Chains
Patches
Paint
Thread
Safety pins
Leather
pen
fabric
I could go on for days..

SO, this is what I did. Feel free to bite my style if you dig.......


start with any jacket


i decided to cut the arms off with a seam ripper


then i soaked it in bleach with a little bit of water for about 30 minutes, the lotion bottle kept it completely submerged 


this is how it looked after i washed and dried it 


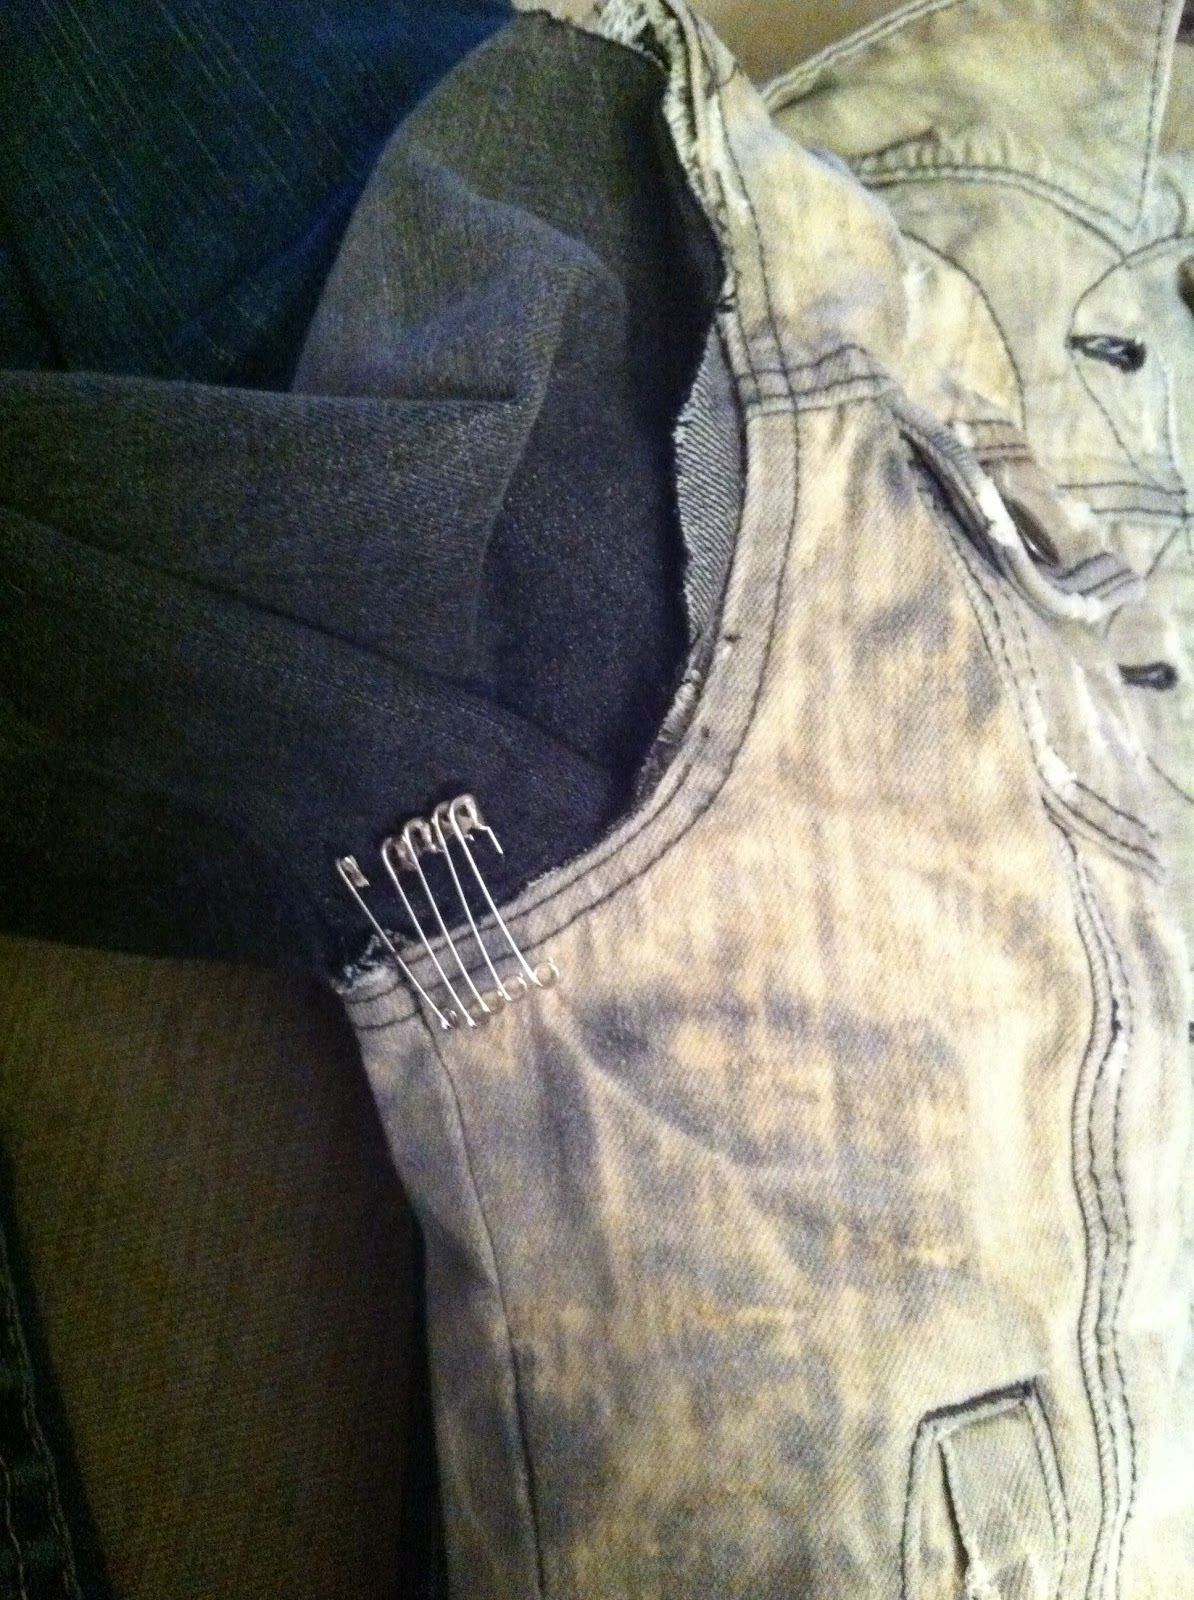
at first i wanted to safety pin the arms back on, which looked awesome but then decided i wanted a vest because i have far too many jackets


then i started designing areas with safety pins. creating patterns symmetrically on each side. 


this is the result of that


then i safety pinned the top corners so i could drape chains for embellishment 


now on to the back, i decided to stud the whole back panel
you need a nail, a ruler, and a hammer


first draw out the pattern you want i just measured dots all across the back every inch


first hammer in the nail for a nice clean hole, then push the stud through


flip it to the back and fold down the back of the stud


like so. obviously studs are different, but this is how you use these particular kind


half way done.....


oh, and you will cut yourself many times


this is the drape work i did on the front with plain small chains from michaels. so easy, you just slide the chain on the safety pin and close it. 


the back finished:)


the front finished


now do one of your own!

Search This Blog